Invoices became a pain point when I started freelancing. I was spending a lot of time manually taking data out of my time tracking app and creating invoice line items broken down by day, as requested by my client for our hourly agreement. I wasn’t able to get an export from Clockify for a daily summary of items with the same description & project without viewing the daily summary manually. A perfect situation to code my own app!
As an aside, since I started this project and writing this post in July of last year, I’ve decided to make my workflow incorporate as minimal AI as possible.
Most of my peers are formalizing AI use in their workflows and there’s a lot of pressure to conform, or else be viewed as inefficient. To combat this, I’ve begun to create my own scripts and libraries of information when possible and listen to podcasts about what’s up and coming for developers so I can still stay up to date. This project gave me some insight into how incorporating AI into my workflow and helped me with the biggest time sink – paperwork.
Part 1 – Humble Beginnings

Python is still a newer language for me. I’ve done a course learning to create APIs using Flask by Jose Salvatierra, which covered a lot of the basics of Python. But I wanted this project to start more basic than using a framework. I later followed a tutorial to convert it to Flask.
Using free ChatGPT I prompted the base of a Python app for summarizing data out of a csv.
I was hesitant to implement AI into my workflows, and this was an opportunity to feel it out.
I’ve learned enough Python to help debug existing code, and have gone through a course to build an API using Python – but creating this level of data parsing and file interaction felt intimidating.
I needed this app to help with automating a portion of my invoice creation – the time I was spending on it was not going to work long term. I was doing a lot of math by hand (turning minutes into hour percentages) and hand creating the line items with each date.
Looking back at my history, there were only 3 prompts used. I started with the prompt:
Please create a basic python program for parsing through a csv file for daily time tracking
I then prompted it to modify the format based on the csv headers from the Clockify Detailed Export.
The last prompt was to group the lines by description.
The rest of the code I did through the usual workflow of Googling my questions and testing changes. Hands on testing and experimentation is the best way for me to figure out what’s actually happening with the code.
The original app from ChatGPT was pretty rudimentary – using basic Python libraries to achieve this and running in the terminal with no inputs. It worked well enough out of the box but I needed a few extra pieces of functionality. It seemed like a good opportunity to dig into learning Python rather than getting ChatGPT to continue to iterate over it.
I then edited it to add the date to the description of each line item. V1 of this worked by hard coding a file already in the same folder as the script, so the app needed to be updated every time there was a new import.
Part 2 – Converting to Flask and Uploading Powers
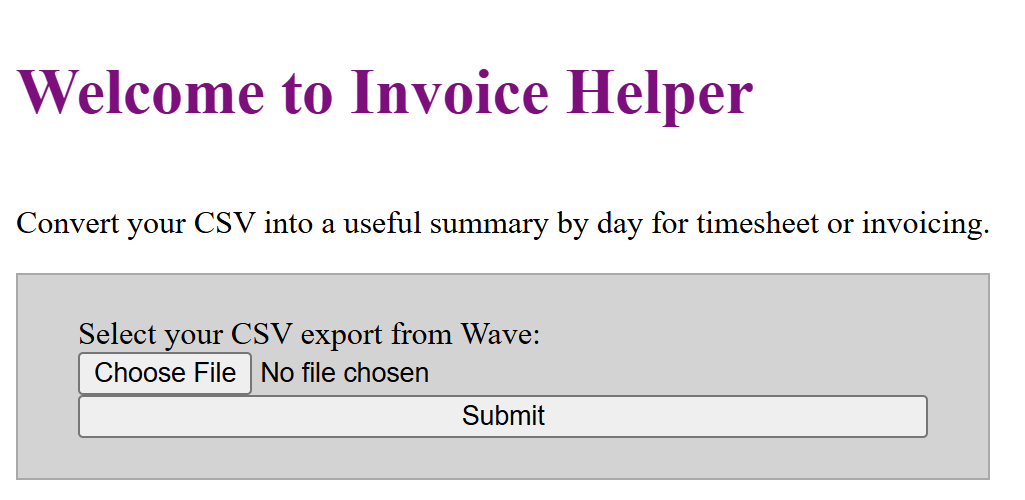
Version 2 – Making the app a Flask App to be able to dynamically choose an export, rather than hardcoding each time.
I followed a tutorial to create a basic Flask app, then updated it to call my original Python app I created.
This came with some headaches, as reading through a datastream versus a file was quite a bit different. I’ve kept the ability to read a file in the original app file (if the script is run directly in the terminal, it reads the hardcoded one).
My downloads folder is now hilariously full of random Clockify exports.
At this point, the results would show in the terminal while the results page was empty.
Part 3 – It Just Needs a Bit of…Shaping!
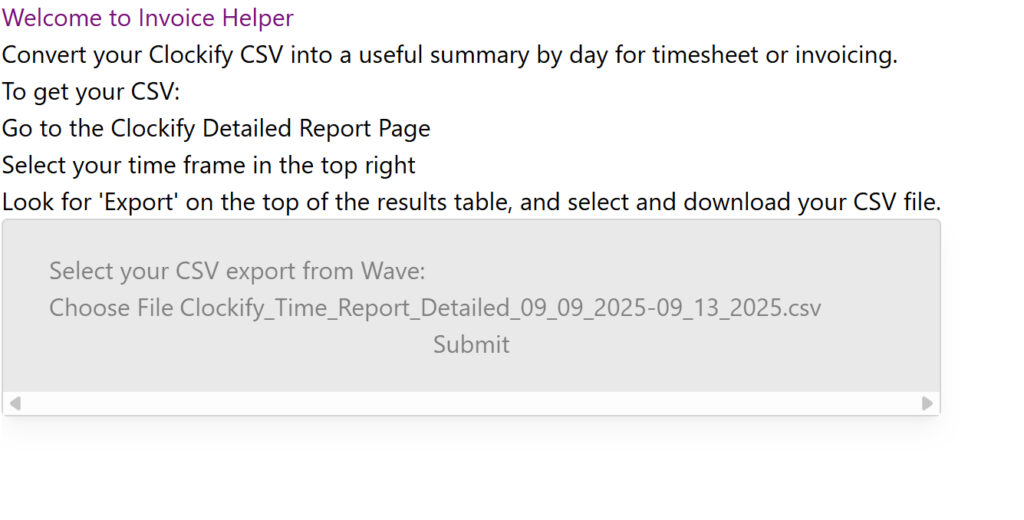
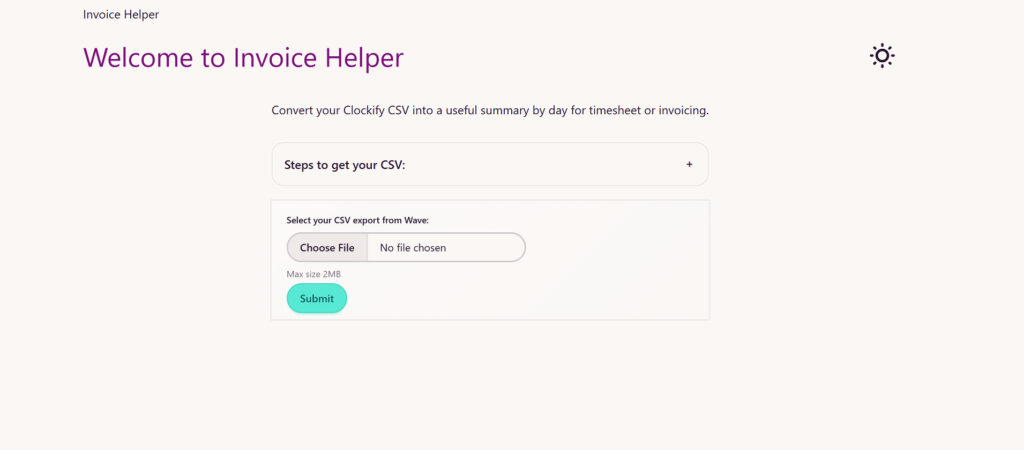
The next step was incorporating Tailwind and DaisyUI, and tidying up the frontend styles and functionality.
I decided to include the full files from the CDN so that I could focus on the app structure. This allowed me to learn how to use Tailwind without complicating the frontend, since you want to use a build script to only include the styles that are in your code base. Styles and scripts are still hard coded into the template, since there’s a specific way you need to include local files in Flask.
It’s amusing to see when I first threw Tailwind on, compared to when I also added DaisyUI and properly spaced everything. I also played with adding a dark mode
Included some vanilla JavaScript for ordering the result tables based on the date. The correct order I had from the Terminal / CLI output seemed to be a happy coincidence. There may also be a sort available on the Python side but I knew this was available using data attributes in JavaScript.
Part 4 – Drippin’ in Finesse… Someday
This is where the development has stopped on this app for now. But there were a few additional things I wanted to do and learned while writing about this experience.
While writing the outline of these posts in this journey, I learned that ChatGPT doesn’t provide timestamps out of the box. But I found a neat feature – you can add custom instructions in the settings that will apply to every new chat. Others have added the prompt to add the timestamp to every message.
I want you to always use timestamps on every message. Use this format. YYYY-MM-DD HH: MM
(Markdown is available in Google Docs if you need it. My favourite cheatsheet: Markdown Guide )
Want to dos:
- Tidying up any restrictions the app needs – mainly limiting the file upload.
- Split the template into parts to reduce duplication
- Rewrite the whole thing in React. A project for another day!